RIGHT SIDE READY!
Right and Wrong Sides of Fabric: Identifying Tips for Crafting Perfect Intimate Apparel
One of the foundational skills you need in your toolkit is the ability to distinguish between the right and wrong sides of fabric. This knowledge is crucial, whether you’re creating delicate lingerie, stylish bras, or comfortable yet chic loungewear. Let’s dive into the details of how you can master this skill and ensure your intimate apparel always look their best.
PRINT AND PATTERN: YOUR VISUAL GUIDE
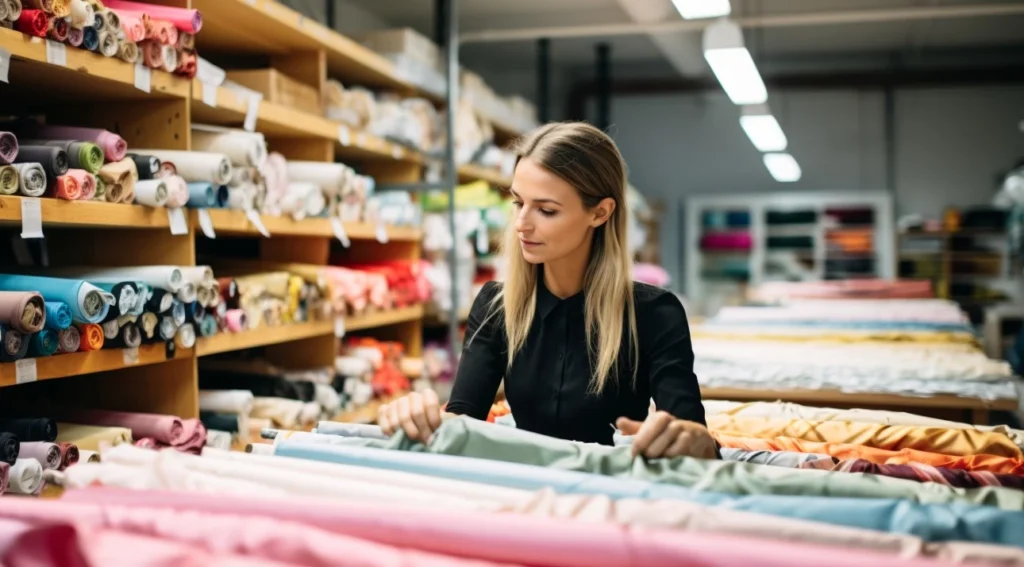
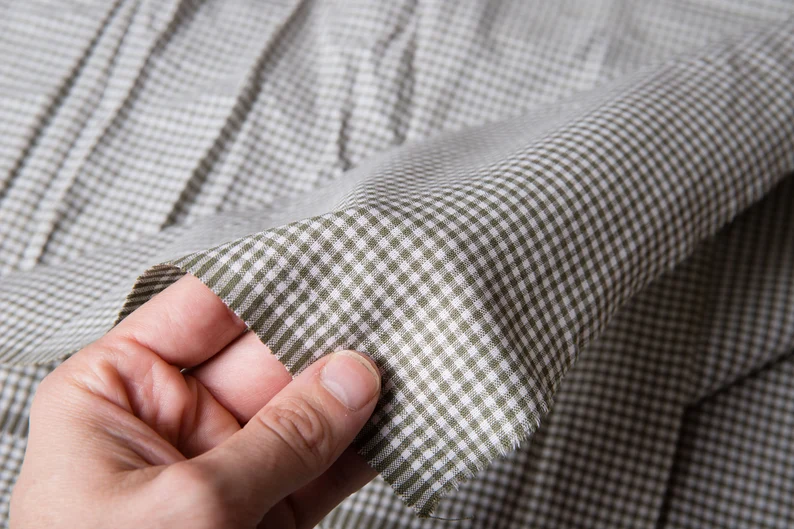
For many fabrics, the print and pattern can be a clear indicator. On printed fabrics, the right side displays a clearer, more vibrant design, like the star of the show. The wrong side often looks faded and dull. For woven patterns, such as plaid or stripes, the right side will have sharp, well-defined lines meant to catch the eye. So, if you’re using plaid fabric for a cozy yet stylish bra, ensure those lines are crisp and clean.
TEXTURE AND FEEL: TRUST YOUR FINGERS
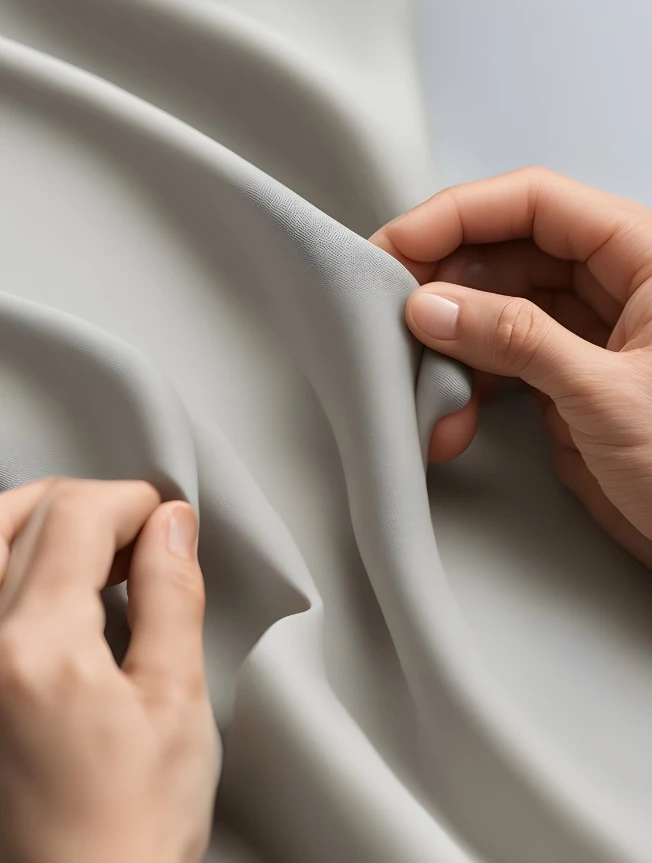
Sometimes, your sense of touch can be more reliable than your eyes. Typically, the right side of the fabric feels smoother or softer. Gently run your fingers over the fabric and notice the texture. The wrong side might feel rougher or have a different, less appealing texture.
SHEEN AND FINISH: SHINE ON
Many fabrics have a shiny side that is easily identifiable when held up to the light. The shiny side reflects more light and is considered the right side, which has a polished, finished appearance indicating quality and attention to detail.
SELVAGE EDGES: THE FABRIC’S ROADMAP
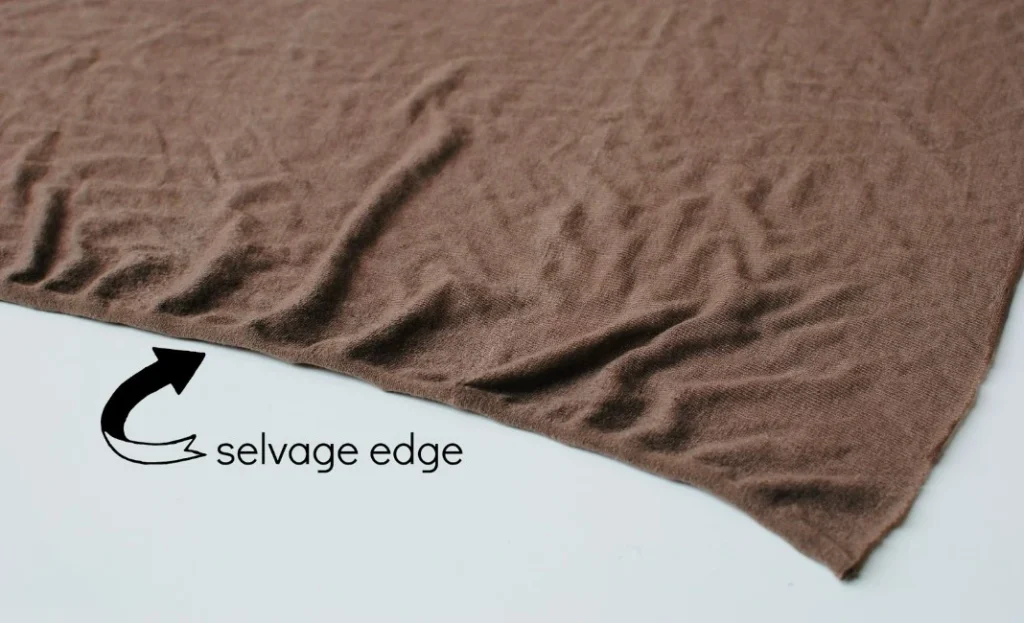
The selvage edge, or the finished edge that doesn’t fray, can provide important clues. Manufacturers often print information like color dots or text on the selvage, usually visible from the right side. This is like a little roadmap the fabric maker left for you, guiding you to the correct side.
NAPPING AND PILE: FOLLOW THE FLOW
For fabrics like velvet, corduroy, or fleece, the direction of the nap (the way the fabric fibers lie) indicates the right side. Touch the fabric with your hand; the smoother side is typically the right side. This can be crucial for maintaining the luxurious feel of a velvet bra or the cozy appeal of fleece loungewear.
EDGES AND SEAMS: CLUES FROM CONSTRUCTION
Take a look at any finished edges or hems. These are often folded towards the wrong side, making the right side more visible. If you’re repurposing fabric or working with remnants, look for existing seam lines. They often show that the visible side during construction was the right side.
WEAVE AND KNIT PATTERNS: KNIT HAPPENS
For knitted fabrics, the right side often displays clearer knit stitches (those neat little V shapes), while the wrong side shows purl stitches (a bumpier texture). For woven fabrics, like twill, the right side has more pronounced diagonal lines.
TEST SWATCH: THE FINAL CHECK
Cut a small piece of fabric as a swatch, align the edges, and sew a seam. The side that looks more polished and finished after sewing is likely the right side. This final check can give you the confidence you need before cutting into your fabric for real.
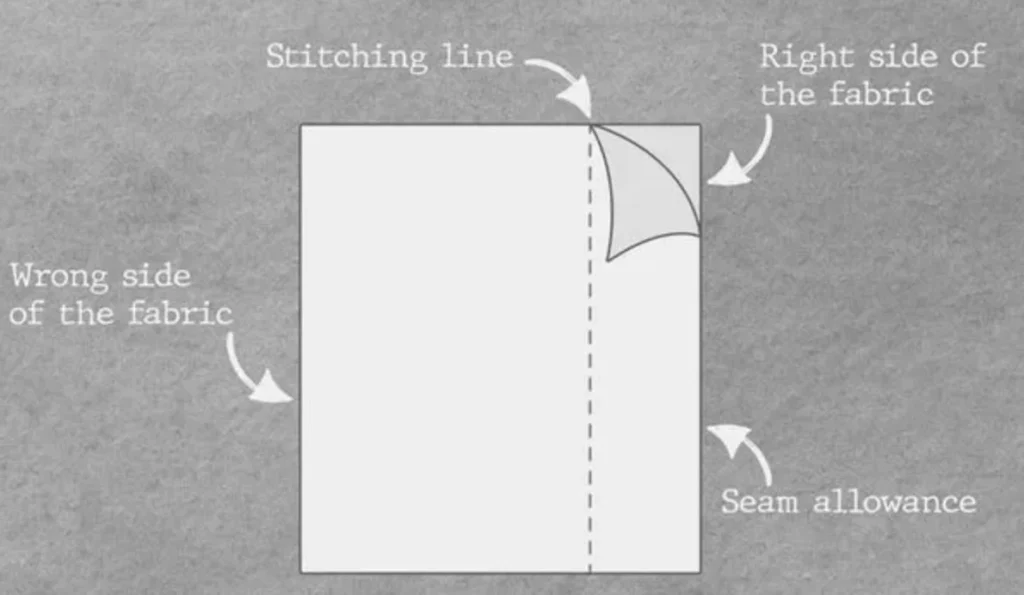
Always double-check by verifying the right and wrong sides of fabric before sewing. Mark the fabric with chalk or a fabric marker to clearly indicate the right side and prevent confusion. Follow pattern instructions that specify which side of the fabric should face up or down. When sewing, pin the textile with the right sides facing each other to confirm seams are on the inside. For fabrics with a nap, make sure to cut all pieces in the same way to maintain consistency. Handle sheer fabrics with care, using a lightweight needle and avoiding heavy or dark-colored thread to prevent it from showing through.
Mastering the art of identifying the right and wrong sides of fabric is like learning a secret language that only the fabric and you speak. It ensures that your intimate apparel not only looks fantastic but feels incredible against the skin. So next time you’re in your studio, take a moment to use these tips and ensure every piece you create is perfect from every angle.
Feel free to reach out if you have any fabric-related questions or tips to share. We’re all on this creative journey together!
