

ELASTIC MASTERY
A Step-by-Step Guide to Attaching Lingerie Elastic in Bra Making
Attaching lingerie elastic is a fundamental skill in bra making. The way you attach elastic can greatly affect the comfort, fit, and aesthetic appeal of your final product. In this guide, we’ll walk you through the essential steps of attaching lingerie elastic, providing valuable tips and pro tricks to help you achieve professional results. Whether you’re just starting your lingerie business or looking to enhance your craftsmanship, read on to master the art of elastic attachment.
UNDERSTANDING THE BASICS
Before we start, grasp the fundamental concepts of securing lingerie elastic. There are four key areas where you’ll commonly attach elastic: the upper cup, the underarm, the bridge, and the band. The elastic is secured in two steps: first with a regular zigzag stitch, and then with a 3-step zigzag stitch after trimming and turning the elastic inside the bra.
STEP 1: MEASURE THE ELASTIC
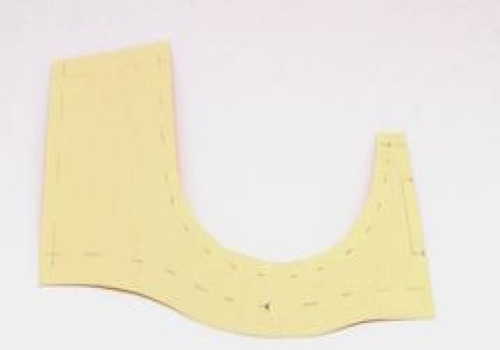
To start, you’ll need to measure the elastic accurately. Lay it flat along the section where it will be attached, adding about half an inch on each side. This extra length makes it easier to handle and allows for a smooth finish, especially around curves.
STEP 2: SELECT THE VISIBLE EDGE
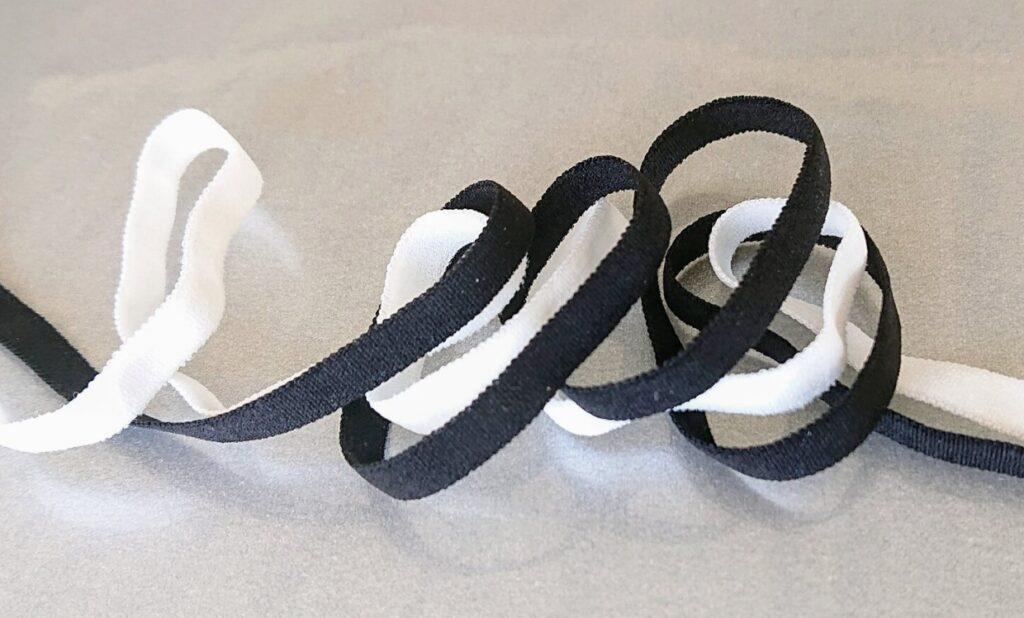
Now, decide which edge of the lingerie elastic you want to be visible on the right side of the final bra – the picot (ridged) edge or the flat edge. Your choice here is purely aesthetic, so go with what suits your design best.
STEP 3: SET YOUR MACHINE
For the first pass of elastic attachment, set your sewing machine to a regular zigzag stitch. The stitch width should be less than half the width of the elastic, ensuring that the zigzag is less than 1/4″ wide for a 1/2″ wide elastic.
STEP 4: POSITION THE ELASTIC
Place the elastic soft side up on the right side of the bra, aligning the smooth edge of the elastic with the fabric’s edge.
STEP 5: SEW THE FIRST PASS
Stitch the elastic without stretching it, keeping your zigzag stitches as close as possible to the picot edge without going over it. Avoid stitching too far from the edge, as this can result in an unattractive finish.
Pro Trick: If you find that you didn’t get as close to the edge as needed, you can sew a small 1.5 mm straight stitch in that area only. However, this solution is best for shorter lengths, less than a quarter-inch. For longer sections, it’s advisable to restitch the area with the same zigzag stitch, getting closer to the edge.
UNDERSTANDING ELASTIC STRETCH
It’s important to note that, as a rule, you should not stretch the elastic while sewing it to the bra. The purpose of the elastic is to keep the bra snug against the body. Stretching it during sewing can lead to a wrinkled appearance and reduced elasticity over time.
There are exceptions to this rule, though. In the underarm area and below the cups of a full-frame bra, you can use a slight stretch to facilitate the elastic’s turn over these curves.
Pro Tricks:
> To ensure symmetry under the cups of a full-frame bra, mark the elastic turn points at the base of the cups. This helps align the picot edge of the elastic for equal band distribution under each cup.
> When attaching underarm elastic, consider your strap attachment method. If using a ring or slider attachment, include the stabilizer in the elastic attachment process.
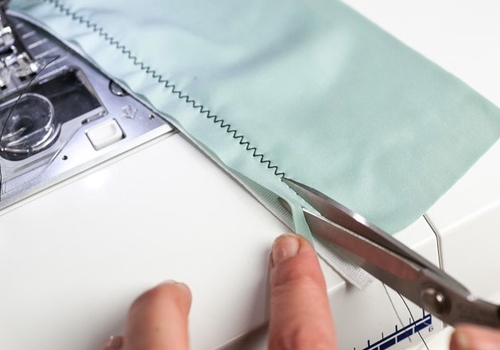
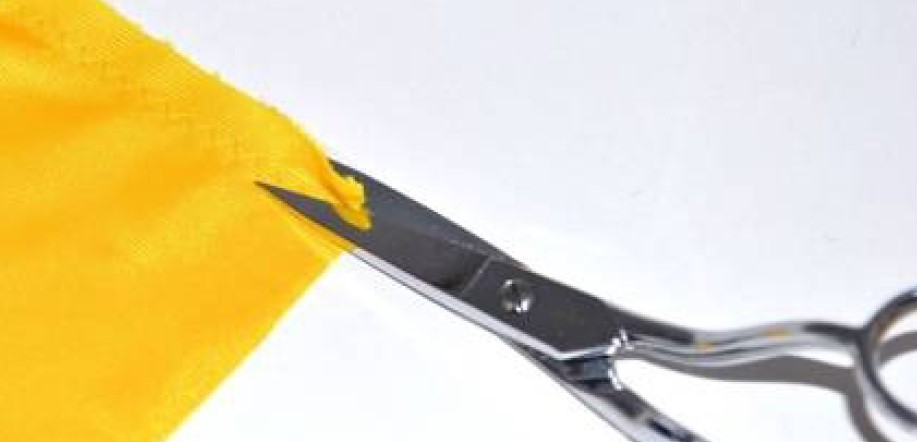
STEP 6: TRIM FOR FLATNESS
After sewing the first pass, trim the excess fabric beyond the stitching line and clip any curves right up to the stitching. This ensures a smooth, wrinkle-free finish when you turn the elastic to the inside of the bra.
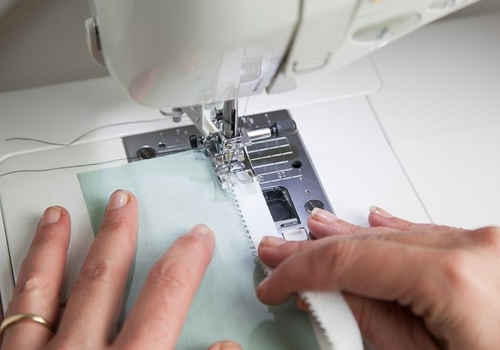
STEP 7: SEW THE SECOND PASS
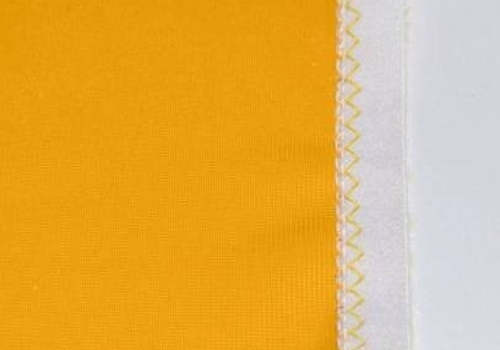
To finish sewing the elastic, turn it to the inside of the bra. Sew the elastic using a 3-step zigzag or serpentine stitch along the smooth edge of the elastic with the soft side up. Make sure your stitching is as close to the edge of the elastic as possible without going over it.
As you sew, ensure the bra remains flat underneath the elastic by gently pulling the fabric in the opposite direction of the elastic. If you’re working with slippery fabrics, sew slowly as they tend to shift during stitching.
Pro Trick: Sew with the elastic side up to secure the entire span of elastic to the bra. Sewing away from the edge could cause the elastic to curl over itself, creating a visible ridge on the right side of the bra.

Attaching lingerie elastic is a crucial skill for anyone in the intimate apparel industry. With the right techniques, you can create beautifully crafted lingerie that not only looks stunning but also fits comfortably. Remember, attention to detail and precision are key in this artful endeavor. So, practice, experiment, and refine your skills, and soon you’ll be crafting lingerie that’s truly a work of art. Happy bra-making!