CUPS FIXES
Common Issue, Diagnosis and Solution for Cups
In our ongoing exploration of crafting the perfect intimate apparel, we have covered straps, bands and frames. Now, we delve into the heart of any bra design – the cups. Achieving the ideal cup fit is essential for comfort and confidence. Let’s take a closer look at common cups related issues, their diagnoses and expert solutions to ensure your intimate apparel line stands out in terms of both fit and style.
BEFORE YOU BEGIN
Before diving into cups issues, make sure you’ve completed all the previous steps, including fitting your underwire, customizing your bridge, and ensuring the band and straps are well-fitted. Once you’ve addressed these vital elements, proceed to diagnose and resolve any cup-related issues.
Issue 1: Folds, Wrinkles, or Excess Fabric in the Cups
Diagnosis: The cups are too large.
Solution: If there’s excess fabric of more than 1/2″, consider moving to a smaller cup size. For minor issues (less than 1/2″), reduce the arc at the fullest part of the cup seam line while leaving the parts joining the frame and wire line unchanged.
Issue 2: Gaping Cups at the Underarm
Diagnosis: The breast shape does not require additional volume in the underarm area.
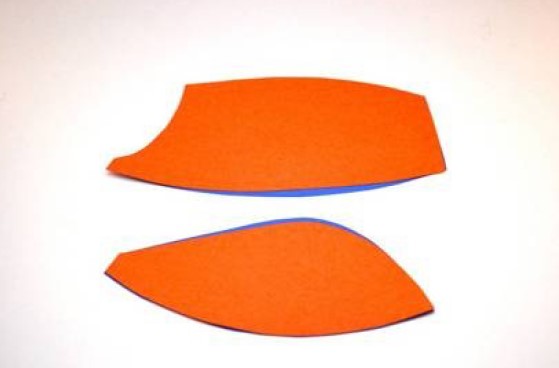
Solution: Remove excess fabric at the underarm by pinching it out like a dart. Smooth the decrease to zero at the end point of the pinned dart, ensuring a natural fit. Avoid compensating with underarm elastic to prevent rippling and ensure the longevity of the bra.
Issue 3: Tight, Pinched Cups or Breasts Spilling Over
Diagnosis: The cups are too small.
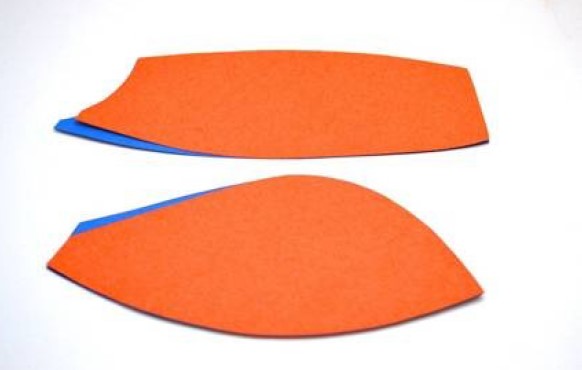
Solution: If the cups are too small, it’s advisable to move directly to a larger cup size. It’s generally easier to tailor down larger cups if needed. If the breasts are covered but tightness remains, you can experiment with increasing volume at the fullest part of the cup seam line while leaving the areas connecting to the frame and wire line unchanged.
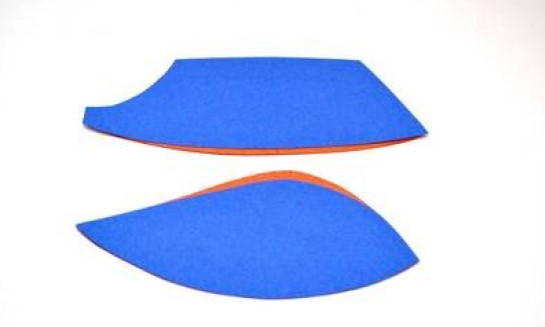
Note: If the larger cups don’t fit neatly into the existing frame, address this by decreasing the cups at the underarm, as demonstrated in the following fitting issue.
Issue 4: Cups Don’t Reach the Chest Wall
Diagnosis: Cups are too small.
Solution: Try the next larger cup size without changing the frame or band. If the larger cups don’t fit well within the frame, modify the cups at the underarm.
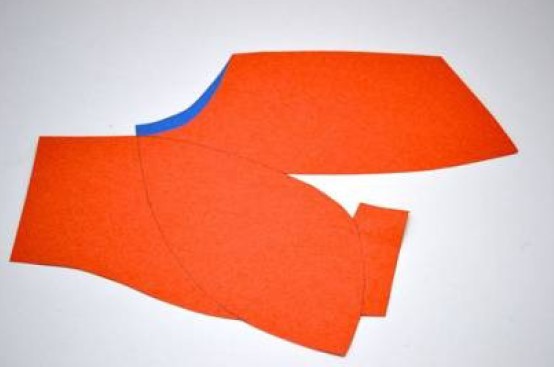
Issue 5: Excess Fabric at the Base of the Cups
Diagnosis: The cup shape doesn’t accommodate the roundness of the breast, resulting in excess fabric.
Solution: Flatten the curve at the lower edge of the cup. Start with a small decrease and adjust incrementally until the issue is resolved. If excess fabric persists after multiple adjustments, consider moving to the next fitting topic.
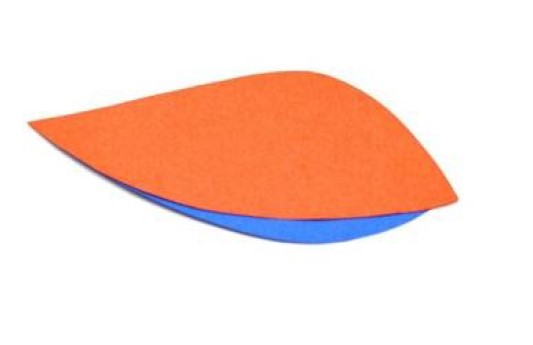
Issue 6: “Quadraboob” Appearance Due to Tight Upper Cups
Diagnosis: The upper cups are too tight.
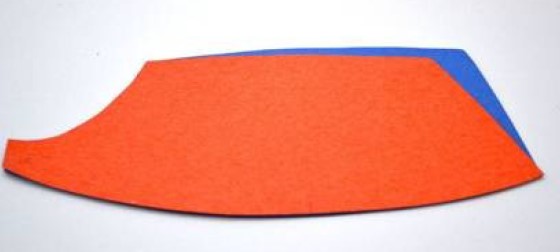
Solution: Add length to the upper cups by estimating the additional required length. Slash and spread the pattern at the midpoint of the upper cup pattern piece, redrawing the style lines accordingly. It’s essential to note that the upper cup should remain unchanged at the wire line, even if the angle of the seam line changes.
Issue 7: Upper Cups Do Not Lie Flat Against the Body
Diagnosis: The upper cups are too loose.
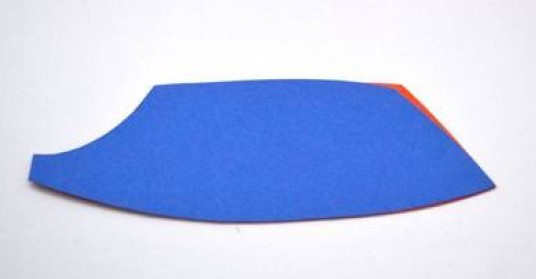
Solution: Decrease the length of the upper cups by pinching out a dart from the center of the upper cup. Slash and overlap the upper cup pattern by this amount at about the midpoint of the upper cup pattern piece. Redraw the style lines and retest. As with the previous issue, remember that the upper cup should remain unchanged at the wire line, while the seam line angle may shift.
Understanding and addressing common cups issues is vital to mastering the art of bra design. By providing your customers with the perfect fit, you can unquestionably stand out in the competitive world of intimate apparel. So, continue to refine your expertise in bands, frames, straps, and cups to create bras that offer both style and comfort. Remember, in this journey every detail counts!
