BRA CRAFTING MASTERY
Construction Sequence for Making Bras
Are you an aspiring entrepreneur in the intimate apparel industry, ready to make your mark with exquisite bras? Welcome to the world of bra construction! Crafting the perfect bra requires a well-thought-out sequence of steps, and we’re here to guide you through it. While construction techniques may vary based on your pattern, we’ll provide you with our preferred construction sequence for making bras to get you started on the right track. Remember, it’s essential to read and follow your pattern’s instructions as well.

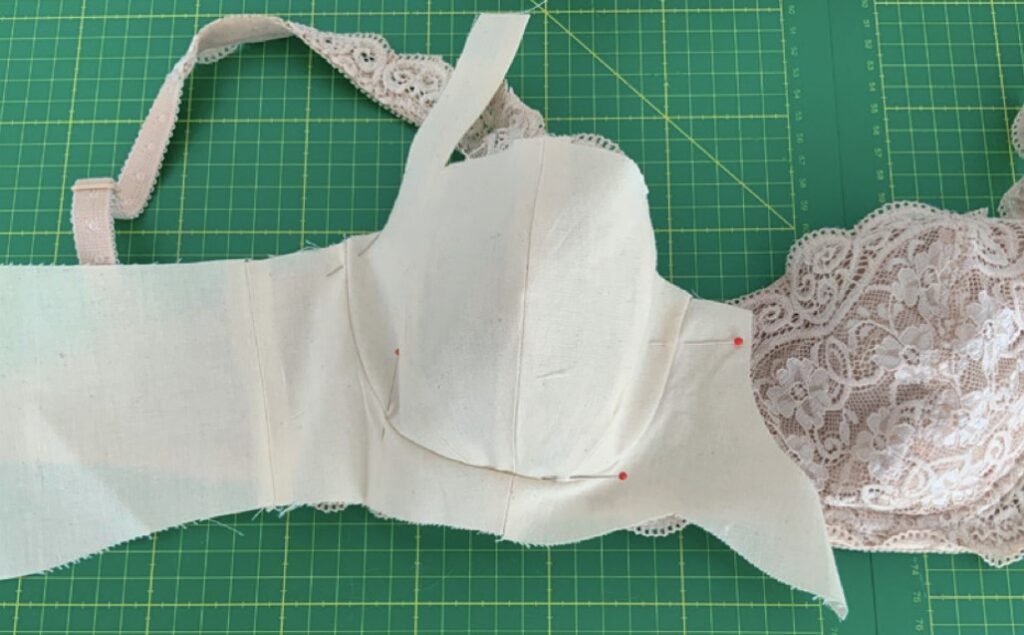
- Sewing the Cup Pieces Together: Begin by sewing the cup pieces together following your pattern’s prescribed order. It’s equally crucial to pay attention to the cup construction order, as it can make a significant difference. Topstitch and trim seam allowances as needed.
- Finishing the Upper Cup: Now, finish the upper cup using your preferred or pattern-directed method. Be mindful of any instructions regarding the straps at this stage. Straps may be directly attached to the upper cup, which might differ from our preferred method. This could mean creating the straps before finishing the upper cup.
- Completing the Bridge: Moving on, finish the bridge as per your preferred or pattern-directed method.
- Sewing the Frame Together: If your bra has multiple frame pieces, sew them together and topstitch the seams for added durability.
- Band Attachment (with or without Side Seam): If your bra has a side seam, sew the band to the frame and topstitch the seam. If you plan to add side boning, avoid topstitching and attach the boning casing to the seam allowance.
- Frameless Bras and Band Elastic Attachment: If you’re crafting a frameless bra, attach the band elastic to the bottom of the band. However, attach the band to the cups before doing this. If your bra features a T-back style and you want to enclose the back strap under the band elastic, incorporate this into the second pass of sewing on the elastic. This involves creating your back straps before this step.
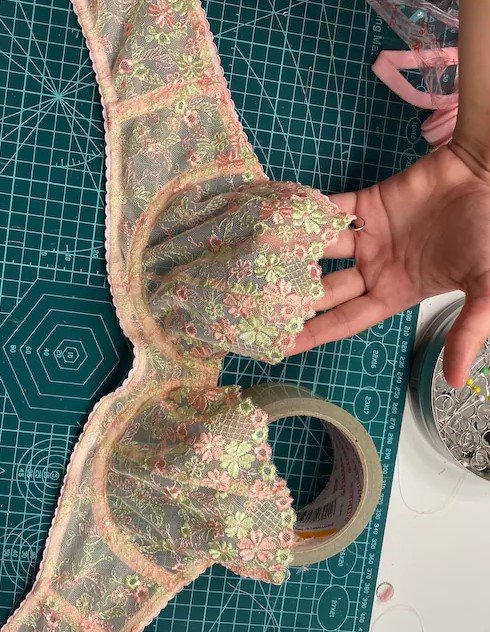
- Attaching the Cups: Sew the cups onto the bra. For full-frame bras, sew the cups into the frame. For frameless bras, attach the cups to the side or band and the bridge in one continuous seam. Make sure to mark the bottoms of the cups with 1/4″ stitching for aligning the underwire casing attachment.
- Band Elastic Attachment: For full-frame bras, attach the band elastic after sewing in the cups but before attaching the casing. If you have a T-back bra style and want to enclose the back strap under the band elastic, do this evidently as part of the second pass of sewing on the elastic. Be sure to create your back straps before this step.
- Underwire Casing: Attach the underwire casing to the cup seam line and topstitch it to secure it in place. Do not insert the wires or seal the casing at the center front yet. This step also involves attaching underarm elastic, and it covers the attachment of the front straps if you’re using a ring.
- Creating Back Straps: Moving forward, create and attach back straps if your bra design includes those components.
- Attaching Back Straps: For scoop back bras, or if you have a T-back style, secure the straps to the upper edge of the band at the elastic.
- Hook and Eye Closure: Attach the hook and eye closure as per your preferred or pattern-directed method.
- Front Strap Attachment: If you haven’t already attached the front straps to the upper cup rings, do so now.
- Side Boning (if applicable): If you’re using side boning, it’s time to obviously insert the boning, topstitch it, and seal up the casing. Find more information visiting our blog post on ‘Enhancing Bra Support: The Art of Side Boning for Intimate Apparel Start-ups‘.
- Underwire Insertion: Insert the underwire and seal the wire casing at the center front.
- Connecting Front and Back Straps: Attach the front straps to the back straps surely by threading the front strap through the ring attached to the back loop and sewing a bar tack or two straight rows of stitching to secure them.
- Adding Embellishments: If desired, attach a bow or other center front embellishment.
- Final Inspection: Before your bra is ready, inspect your handiwork, trim any loose threads, and try on your new creation. This final step ensures your product is perfect and ready to be worn with confidence.

This construction sequence for making bras provides a detailed roadmap for crafting beautiful bras. Remember that practice makes perfect, so don’t be discouraged by initial hiccups. With patience and practice, you’ll be on your way to creating stunning intimate apparel for your brand. Good luck with your entrepreneurial journey and happy bra-making!
