
UNDERWIRE PRO!
Cutting Underwires Down to Size
Ever found your underwires a tad too long for your bra? Don’t worry; you’re not alone. The good news is solving this problem is simpler than you might think. More often than not, the culprit is the center front height. But worry not; we’ve got you covered! In this article, we’ll walk you through the process of cutting underwires down to size, a handy skill for any entrepreneur in the intimate apparel industry.
TOOLS AND MATERIALS YOU’LL NEED
Before we start cutting, make sure you have these tools and materials at hand:
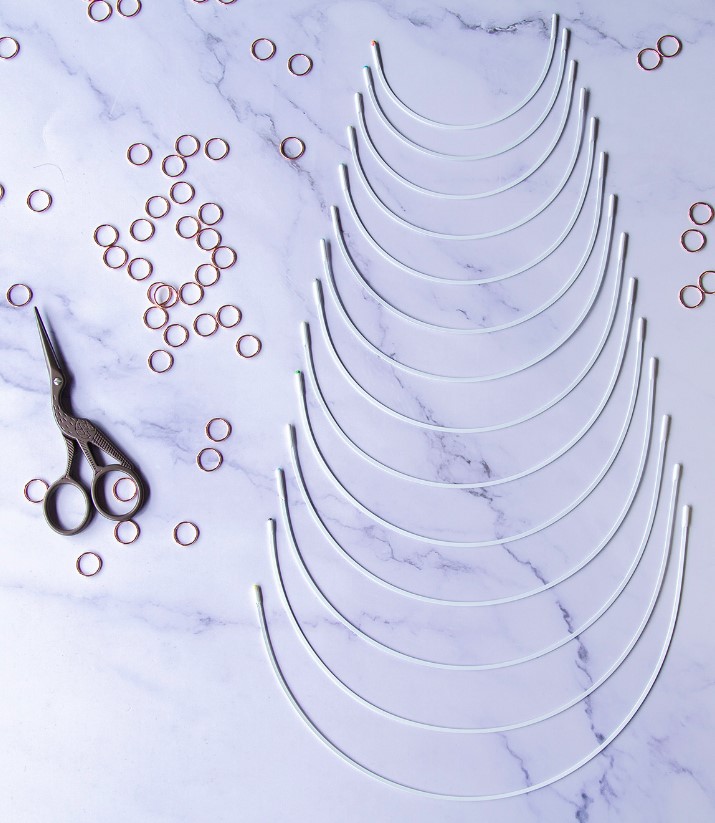
- Underwires that need resizing
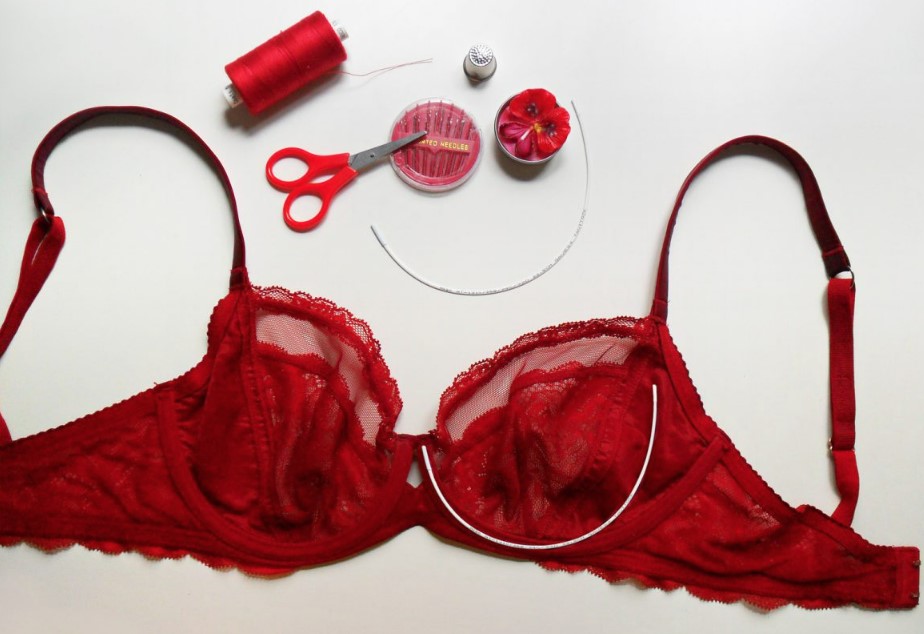
- Bra casing with topstitching on one side
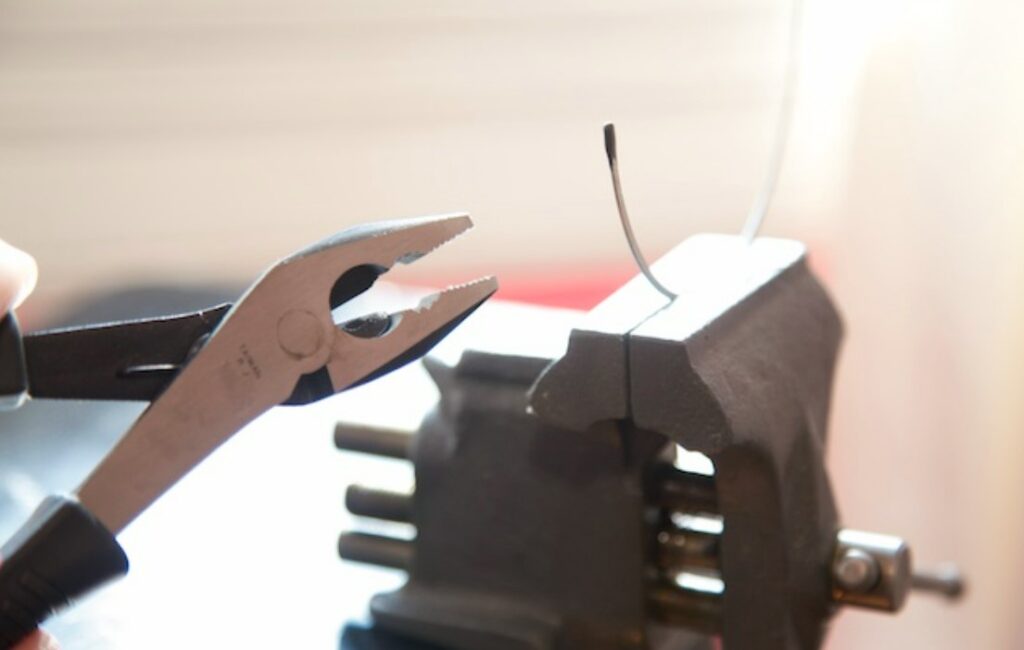
- Wire cutter
- A vise (for stability)
- Protective eyewear
- Household Goop (for finishing)
THE CUTTING PROCESS
Here’s how you can cut underwires to the desired size:
Step 1: Start by measuring the finished wire length you need. You want to ensure your underwires fit perfectly, so accuracy is the key.
Step 2: Insert the wire into the casing, which should be top-stitched in its final position and open on one side. Make sure the wire goes all the way in, up to the stitches sealing the wire casing on the closed side.
Step 3: Carefully mark the wire at the very edge of the bra, being mindful not to get any marker on the bra itself. This mark indicates the total length of the channel, not where you’ll cut the wire.
Step 4: Measure down from your mark in step 3, allowing for a “wire play” allowance. This step ensures that the wire won’t burst through the casing under wearing pressure when it’s splayed. Allow 1/8 inch of space on each side of the wire, totalling 1/4 inch (1/8 inch + 1/8 inch). Mark a point 1/4 inch below your initial marking.
Step 5: Begin by measuring downward from the reference point established in step 4, allowing for a stitching allowance to enclose the casing. The stitching allowance should match the width of your trim. For instance, if your trim measures 3/8 inch, include an additional 3/8 inch for stitching space. In case there is no trim, measure down by 3/8 inch. This new mark, totaling 5/8 inch (1/4 inch and 3/8 inch) from your initial mark, indicates the spot where you’ll cut the wire.
CUTTING THE WIRE
To cut the wire, use a wire cutter. We recommend securing the wire in a vise to keep it steady, allowing you to have both hands free for the task. Safety first – don’t forget to put on protective eyewear to shield your eyes from any stray bits of wire.
Cut the wires one at a time, and once they’re cut, make sure to seal the rough edges. Household Goop is an excellent choice for this, but be mindful not to use too much, as you don’t want to end up with a bulky knob at the end of the wire.
Cutting underwires down to size is like tailoring a suit – it ensures the perfect fit and guarantees satisfied customers. With the right tools and a little care, you can easily customize underwires to meet your specific needs. Always keep in mind, it’s not just about bras; it’s about the comfort, confidence, and contentment of the individuals wearing them. Happy tailoring!
Don’t miss to check out our article on ‘Innovations in Bra Wire Casings: A Must-Know for Intimate Apparel Entrepreneurs‘.