

DRAPE DECODED
Demystifying Drape Method in Intimate Apparel Pattern Making
Welcome back to our journey of uncovering the secrets behind the intricate world of pattern making. Here two significant techniques take the spotlight: flat pattern making and draping. In this post, we’ll explore the Drape Method – an artful approach that breathes life into your designs, shaping them on the body or mannequin in a 3D dance of creativity. Without further ado, let’s dive in!

GETTING TO KNOW DRAPE METHOD
So, what exactly is the Drape Method, and how does it differ from the traditional flat pattern making? Imagine sculpting your designs directly onto a mannequin, working in a three-dimensional dance with fabrics. The Drape Method, also known as working “on the stand,” brings your creations to life in a way that flat patterns might not capture.
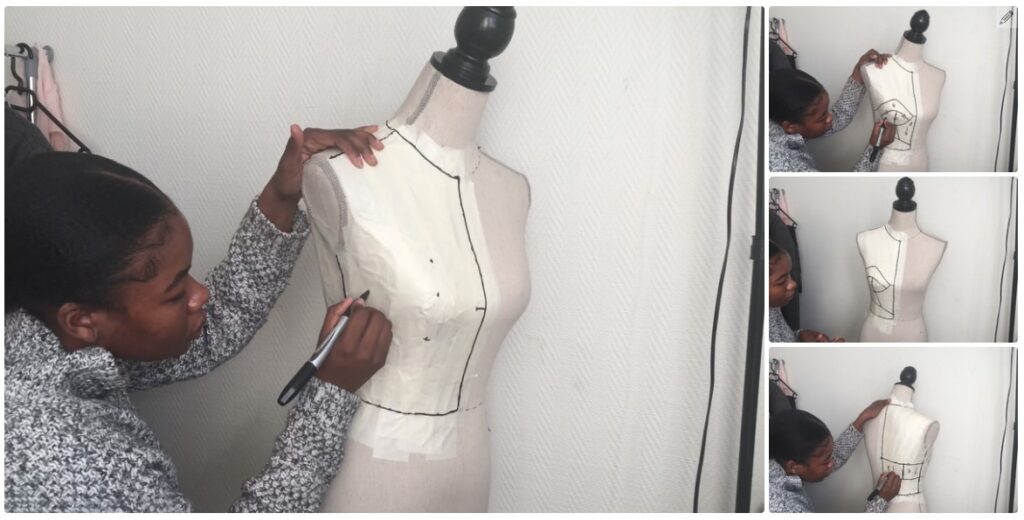
When a pattern maker carefully drapes fabric onto the mannequin, manipulating it to form design features, all while considering the direction of grain lines. Whether using the actual fabric or a toile fabric, the process involves securing the fabric with pins, marking body guidelines, dart positions, and seams details. The outcome is a tangible representation of the envisioned design.
FROM DRAPING TO PATTERN: A STEP-BY-STEP GUIDE
Here’s a step-by-step guide to demystify it:
- Marking Guidelines: Begin by marking essential guidelines on the fabric, indicating grain lines, centrelines, and key body points.
- Securing the Fabric: Pin the fabric onto the mannequin, smoothing and shaping it to reflect your design vision. This step is all about getting the right drape and flow.
- Marking Design Elements: With the fabric secured, mark essential details like dart positions, stitching lines, and guide notches directly onto the toile fabric.
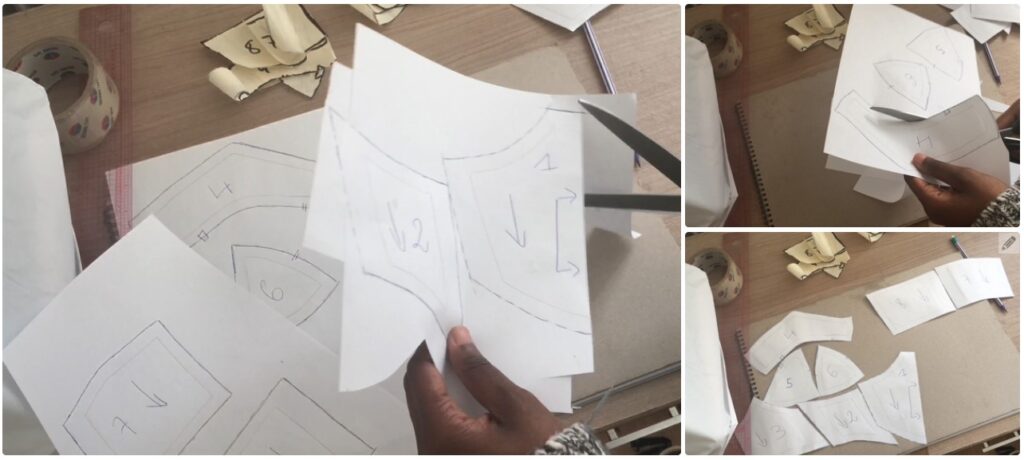
- Removing the Drape: Carefully take out the pins, remove the fabric from the mannequin, and press it flat.
- Transforming into a Pattern: Transfer the stitching line and markings onto a new pattern paper or cardboard, the drape evolves into a tangible pattern.
- Quality Check: The pattern is scrutinized for accuracy through truing and balancing of the stitching line, with seam allowances added as needed.
- Final Touches: Pattern markings, such as notches, drill holes, and grain lines, are added to complete the pattern.
Remember, recording every detail is the key to success. Additional measures like reference measurements, sketches, and photos ensure clarity and understanding once the fabric is off the mannequin.
WHY DRAPE?
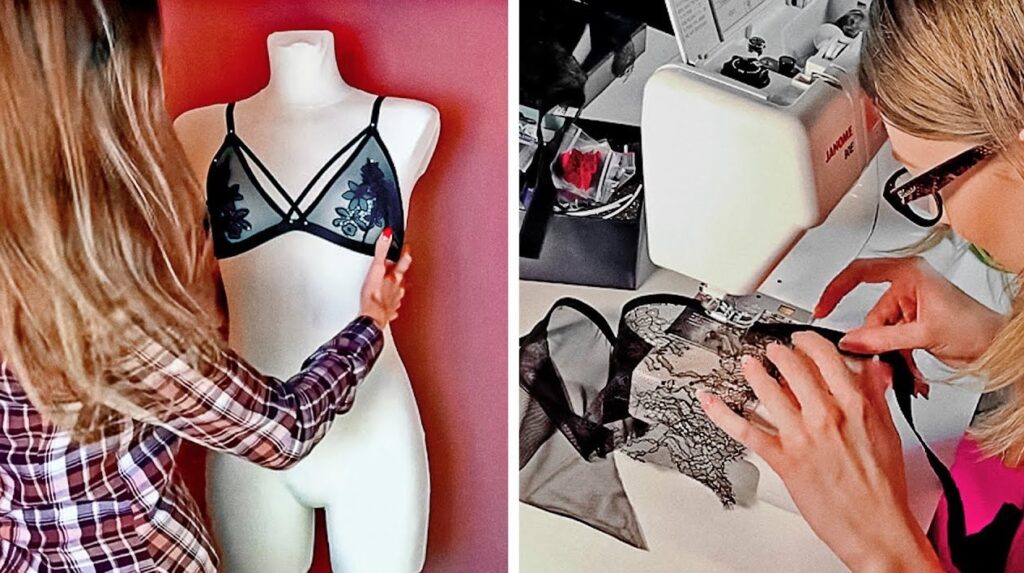
The strength of the Drape Method lies in its capacity to intricately capture the details of the human form, crafting patterns that harmonize seamlessly with the body’s natural curves. In the intimate apparel industry, where fit and comfort are dominant, the Drape Method unquestionably becomes a powerful tool for bringing sensuous designs to life.
Flat pattern making is meticulous and formulaic. But the drape method allows for a more intuitive exploration of design, emphasizing the tactile relationship between fabric and form. The choice between these methods often depends on the designer’s preference, the complexity of the design, and the desired outcome. Each offers a unique avenue for expressing creativity in the territory of intimate apparel.
Stay tuned for more insights and practical tips as we explore the flat pattern making. The cut and spread method vs. the pivot method directly by clicking here.