
PATTERN ARTISTRY
Mastering the Art of Flat Pattern Making: Cut and Spread vs. Pivot Method
Welcome back to our intimate apparel design and development blog! Today, we’re exploring the world of flat pattern making, shedding light on two pivotal techniques: the “Cut and Spread” and the “Pivot” methods. These skills are fundamental to lingerie design, and we’re here to guide you through the intricacies. So, get ready with your sketchbooks and join us on this exploration as we reveal the key insights to master the art of flat pattern making!
UNDERSTANDING FLAT PATTERN MAKING: A 2D DESIGN DANCE
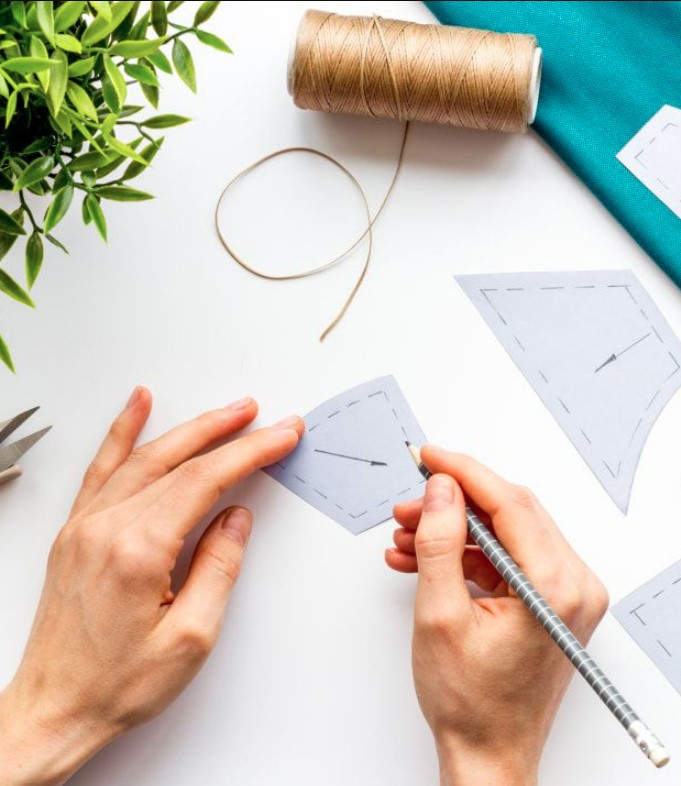
Flat pattern making may sound abstract, but it’s far from detached. It involves creating patterns and making design changes while working in a 2D space, either on paper, cardboard, or digitally. The process revolves around basic blocks, which are templates created through a mathematical process based on body measurements. The key to the process is breaking down the body into simplified garment shapes. Think of it as a canvas awaiting your creative touch.
FLAT PATTERN MAKING: CUT AND SPREAD METHOD
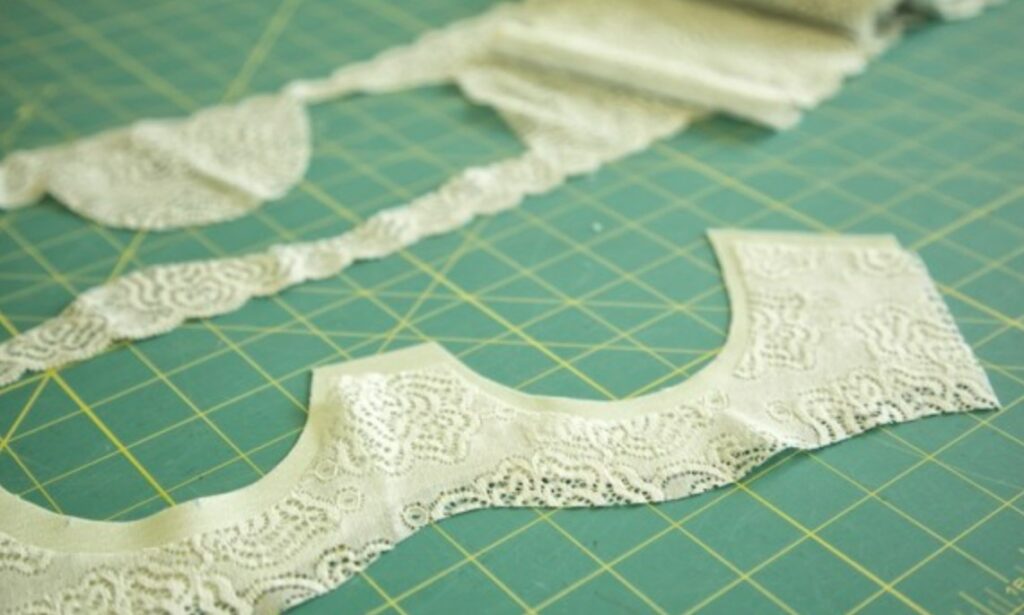
The Cut and Spread method, also known as “slash and spread,” is a technique where you cut an existing pattern into pieces, rearranging them to form the shape of your new design. Here’s how:
- Duplicate your basic pattern or block.
- Draw guidelines on the pattern copy where changes are needed.
- Cut the pattern along the guidelines.
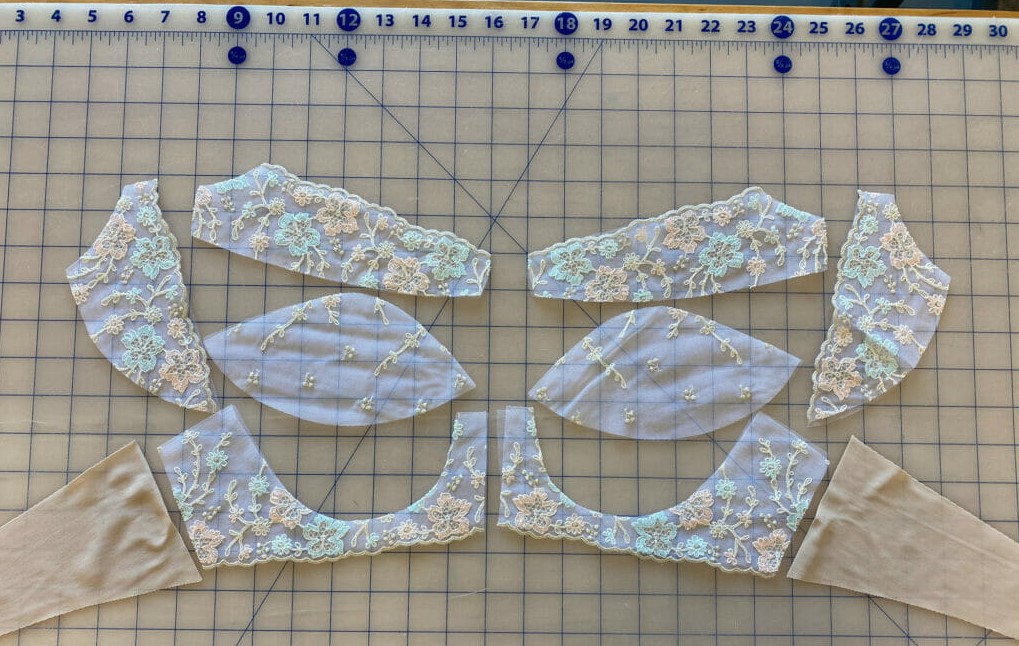
- Spread the cut pieces on fresh paper until they represent the desired shape.
- Trace the stitching line and seam allowance onto the new sheet.
- True and balance the stitching line.
- Add seam allowance and any necessary markings to finalize the pattern.
FLAT PATTERN MAKING: PIVOT METHOD
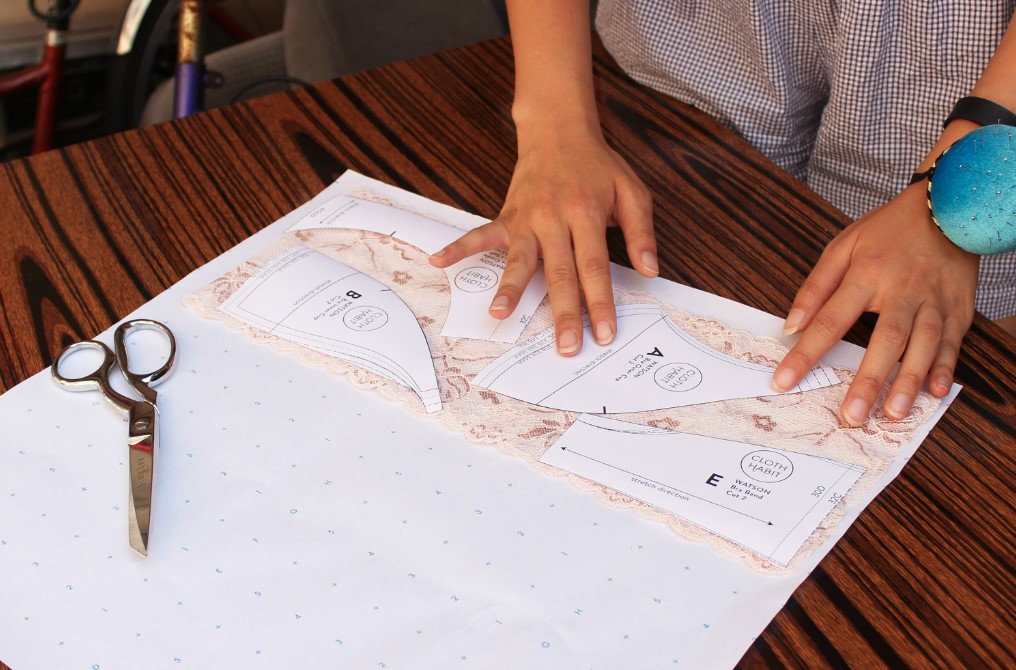
The Pivot method, also known as the “move and trace” technique, offers a different dance but achieves the same results. Instead of cutting, you move or pivot an existing pattern, tracing it at each stage to create the new pattern’s shape. Here’s how:
- Draw temporary guidelines on the pattern where changes are needed.
- Place the pattern on fresh paper.
- Trace around the pattern until reaching the guideline.
- Pivot the pattern to alter the shape, then continue tracing.
- Trace the stitching line and seam allowance onto the new sheet.
- True and balance the stitching line.
- Add seam allowance and any necessary markings to finalize the pattern.
CUT AND SPREAD VS. PIVOT: CHOOSING YOUR PATH
Now, the big question: Cut and Spread or Pivot? Both methods yield similar results, but the choice depends on your comfort level and experience.
- Cut and Spread: This method provides a tangible way for beginners to understand how pattern parts come together, making it an excellent starting point for those new to the craft.
- Pivot: While the Pivot method achieves similar results as Cut and Spread, it is often favoured for its speed, especially once the Cut and Spread method is mastered.

Whether you choose the Cut and Spread method for its visual clarity or the Pivot method for its efficiency, the key is to practice, experiment, and find the method that best suits your design process. Stay tuned for more insights and valuable tips to elevate your skills in the art of intimate apparel design. Happy pattern making!