

FIT PERFECTLY
The Bridge Test: Achieving the Perfect Fit for Your Intimate Apparel Line
Are you a lingerie entrepreneur? If so, you’re well aware of the significance of creating products that not only look beautiful but also provide a comfortable fit for your customers. One crucial element in achieving this is perfecting the bridge of your bra pattern. In this article, we’ll go through what we call “The Bridge Test” – a method that can take your bra design to the next level by customizing the spacing between cups and underwires. Trust us; it’s a game-changer!
WHY THE BRIDGE MATTERS
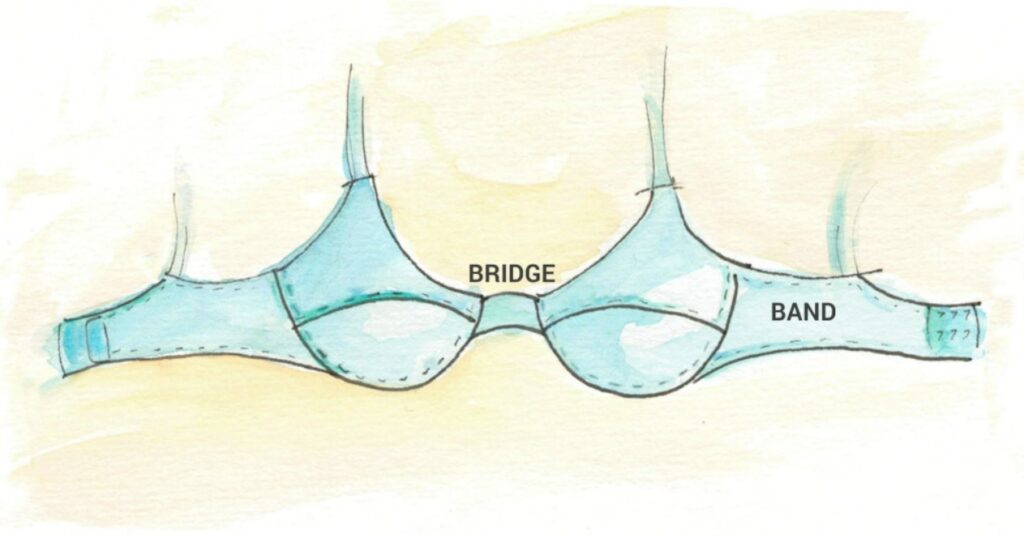
Why is the bridge so important? Certainly, the bridge is the part of the bra that rests between your breasts, connecting the cups and underwires. Its fit directly impacts how your bra feels and performs. By customizing the bridge, you can tailor it to your unique body shape, ensuring an exceptional fit for your customers.
CREATING YOUR BRIDGE TESTER
To begin the Bridge Test, firstly you’ll require a custom bridge tester, designed to pinpoint your ideal bridge match. Here’s how to craft it:
- Mark the Bridge: If your pattern doesn’t already mark the bridge, start by drawing a vertical line through the center point of the bridge.
- Identify the Bridge End: If the bridge is not a distinct pattern piece and is part of the frame, mark a point evidently about midway underneath where the lower cup will be attached to define the end point of the bridge for testing purposes.
- Mark Seam Lines: Mark the seam lines on the bridge pattern if they are not already marked. You’ll need these for both the bridge tester and for any alterations as a result of the bridge test.
- Account for Trim: Remember that the top of the bridge may not have an actual seam line but an allowance for your trim. Mark where the top of the bridge will be after the trim is applied or the seam is sewn.
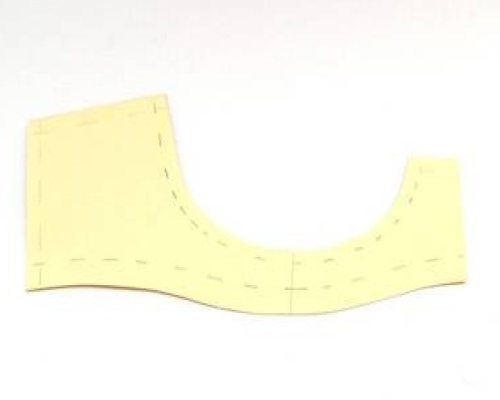
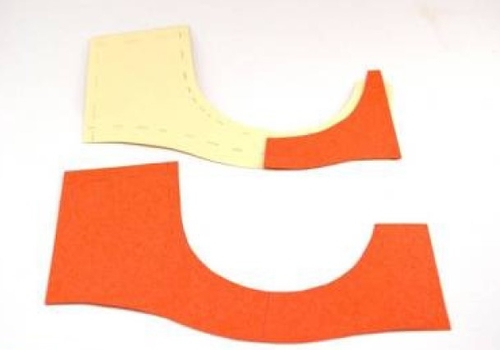
- Create Bridge Tester Halves: For a full frame bra, trace the seam lines of the bridge from your pattern. For a frameless bra, trace the pattern cutting lines. In both cases, add about 1/4″ to the center front for something to hold onto as you manipulate the bridges on the body.
- Transfer to Oak Tag: Transfer the bridge tracing onto oak tag or card stock. You will need two of these half bridges for the test. To avoid confusion, mark the top and bottom of each piece.
CONDUCTING THE BRIDGE TEST
Now that you have your bridge tester ready, it’s time to try it on. Here’s how:
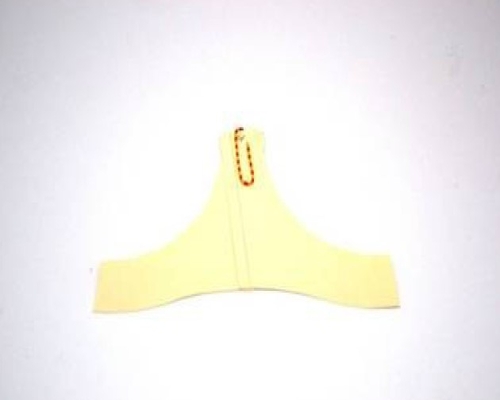
- Connect the Halves: Paperclip the two bridge halves together at the center front top.
- Position on the Body: Place the bridge halves between the bare breasts and pull the bottom of the bridge pieces apart until the curved edge of each piece is positioned where the breasts meet the chest wall. Keep the bridge flat against the chest, and use mirrors or a fitting friend for help if needed.
- Adjust if Necessary: If the top of the bridge is too wide for your body, you can fold the edges over. The goal is certainly to find the correct breast spacing for you.
- Remove Carefully: Carefully remove the bridge pieces from their fitted position on the body without altering their positioning. Move the bridge down along the body, then lift it away.
- Trace the Result: Once removed, lay the bridge tester on a sheet of paper and trace it.
Repeat this test two or three times to ensure consistent results.
CUSTOMIZING YOUR PATTERN
Now that you have your bridge test results, it’s time to customize your pattern:
- Center Line: Draw a line through the center of your tracing, typically by folding the tracing in half.
- Trace the Half Bridge: Trace the half bridge from your tester.
The customization process varies based on whether you are making a full frame or frameless bra:
FOR A FULL FRAME BRA
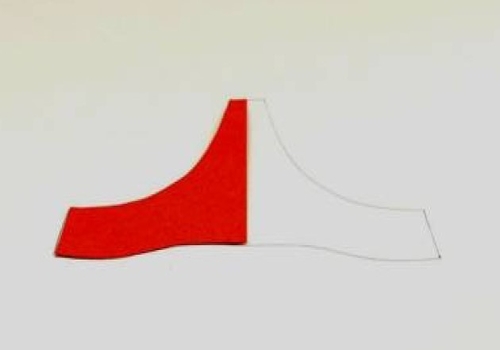
- Align the Top: Align the top of your customized bridge piece with either the trim line or seam line at the pattern’s upper section.
- Pivot for Alignment: Pivot your bridge tester tracing until it aligns with the cup seam line. This may alter the width and/or angle of the center front.
- Mark the New Center Front: Mark the new center front line based on your bridge tester.
FOR A FRAMELESS BRA
Your tester bridge now becomes the bridge for the pattern itself. Just remember to add back the room for any trim or seam allowance to the top of the bridge.

Your pattern’s bridge is now customized, therefore ensuring that the cups and underwire are in the correct location for your customers. Say goodbye to fitting issues in that area going forward!
In the intimate apparel industry, it’s the small details that set your brand apart. The Bridge Test is undoubtedly one of those invaluable tools that can help you deliver a comfortable and tailored fit for your customers. Incorporate this method into your design process, and you’ll be one step closer to creating intimate apparel that customers adore.